
Check Best Thermostat Pricing in Amazon
** As an Amazon Associate, I earn from qualifying purchases.
Yes, it is possible to replace a 2 wire thermostat with a 4 wire thermostat. However, it is important to understand the differences between the two types of thermostats and the potential challenges that may arise during installation.
What is 2 wire & 4 wire Thermostat
Thermostat wiring is an essential aspect of controlling the temperature in your home. It is responsible for transmitting signals between the heating/cooling system and the thermostat. Understanding the wiring of your thermostat is crucial when replacing it.
2 Wire Thermostats
A 2 wire thermostat is the most basic type of thermostat. It has two wires, which are typically red and white. The red wire is connected to the power source, while the white wire is connected to the heating system. These thermostats are commonly found in older homes and are used to control heating only.
4 Wire Thermostats
A 4 wire thermostat is more advanced and can be used to control both heating and cooling systems. It has four wires, which are typically red, yellow, green, and white. The red wire is connected to the power source, the yellow wire is connected to the cooling system, the green wire is connected to the fan, and the white wire is connected to the heating system.
When replacing a 2 wire thermostat with a 4 wire thermostat, it is important to ensure that the wiring is compatible with the new thermostat. The red wire from the old thermostat should be connected to the red wire on the new thermostat. The white wire from the old thermostat should be connected to the white wire on the new thermostat. The yellow wire from the new thermostat should be connected to the cooling system, and the green wire should be connected to the fan.
Compatibility Considerations
Voltage and Current Requirements
When replacing a 2 wire thermostat with a 4 wire thermostat, it is important to consider the voltage and current requirements of the new thermostat. The 2 wire thermostat typically operates on a low voltage system, while the 4 wire thermostat may require a higher voltage. It is important to check the voltage and current requirements of the new thermostat before installation to ensure compatibility with the existing system.
System Compatibility
Another important consideration when replacing a 2 wire thermostat with a 4 wire thermostat is system compatibility. The 2 wire thermostat may be compatible with a specific heating or cooling system, while the 4 wire thermostat may be designed for a different type of system. It is important to check the compatibility of the new thermostat with the existing heating or cooling system to ensure proper operation.
In some cases, it may be necessary to install additional wiring to accommodate the new thermostat. This can be a complex process and may require the assistance of a professional HVAC technician. It is important to ensure that all wiring is properly installed and connected to prevent damage to the thermostat or the heating and cooling system.
Installation Process
Tools and Materials Needed
Before starting the installation process, make sure to gather all the necessary tools and materials. You will need a 4-wire thermostat, a screwdriver, wire stripper, pliers, and electrical tape. It is important to ensure that the new thermostat is compatible with the HVAC system and that the wires are properly connected.
Safety Precautions
As with any electrical work, safety should be a top priority. Make sure to turn off the power supply to the HVAC system before starting the installation process. It is also recommended to wear protective gear such as gloves and safety glasses.
Step-by-Step Guide
- Turn off the power supply to the HVAC system.
- Remove the cover of the old thermostat and disconnect the wires from the terminals. Take note of which wire is connected to which terminal.
- Remove the mounting plate of the old thermostat and install the mounting plate of the new thermostat using the screws provided.
- Strip the ends of the wires and connect them to the corresponding terminals on the new thermostat. Use pliers to ensure a tight connection.
- Secure the wires with electrical tape to prevent them from coming loose.
- Attach the cover of the new thermostat and turn on the power supply to the HVAC system.
- Test the new thermostat to ensure that it is working properly.
Troubleshooting Common Issues
Wiring Mistakes
One of the most common issues when replacing a 2 wire thermostat with a 4 wire thermostat is wiring mistakes. This can happen when the installer is not familiar with the wiring of the HVAC system or the thermostat.
To avoid wiring mistakes, it is important to carefully read the installation instructions that come with the new thermostat. The instructions should provide a wiring diagram for the specific HVAC system and thermostat being installed. It is also important to turn off the power to the HVAC system before making any wiring changes.
Check Best Thermostat Pricing in Amazon
** As an Amazon Associate, I earn from qualifying purchases.
If wiring mistakes are made, it can result in the HVAC system not functioning properly or not functioning at all. In some cases, it can even cause damage to the system.
System Response Errors
Another common issue when replacing a 2 wire thermostat with a 4 wire thermostat is system response errors. This can happen when the new thermostat is not compatible with the HVAC system or when the wiring is not done correctly.
To avoid system response errors, it is important to choose a thermostat that is compatible with the HVAC system. The installation instructions should provide information on compatibility. It is also important to test the system after installation to ensure that it is working properly.
If system response errors are encountered, it is important to refer to the troubleshooting section of the installation instructions. This may involve checking the wiring, resetting the thermostat, or contacting a professional for assistance.
Future-Proofing Your Installation
If you’re considering replacing your 2 wire thermostat with a 4 wire thermostat, you may want to take the opportunity to future-proof your installation. By doing so, you can ensure that your HVAC system is compatible with the latest technology and that you won’t need to replace it again anytime soon.
Smart Thermostats
One way to future-proof your installation is to upgrade to a smart thermostat. These thermostats can be controlled remotely through a smartphone app or voice commands, and they can learn your preferences and adjust the temperature accordingly. They can also be integrated with other smart home devices, such as Amazon Echo or Google Home.
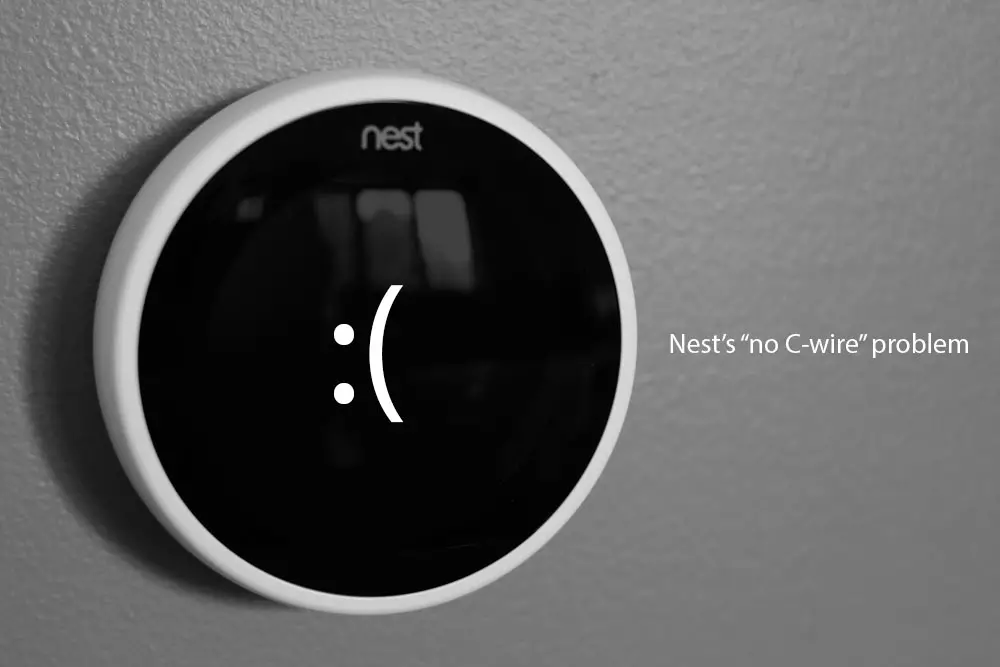
Smart thermostats typically require a C-wire, which provides constant power to the thermostat. If your current 2 wire thermostat doesn’t have a C-wire, you may need to have one installed in order to upgrade to a smart thermostat. However, some smart thermostats, such as the Nest Thermostat, can work without a C-wire by using a power-stealing feature.
Upgrading HVAC Systems
Another way to future-proof your installation is to upgrade your HVAC system. If your current system is outdated or inefficient, upgrading to a newer, more efficient system can save you money on your energy bills and improve your home’s comfort.
When upgrading your HVAC system, it’s important to consider compatibility with your thermostat. Some HVAC systems require specific types of thermostats, so be sure to check with your HVAC technician before making any changes.
By future-proofing your installation, you can ensure that your HVAC system is ready for whatever the future may bring. Whether you choose to upgrade to a smart thermostat or a new HVAC system, you can enjoy the benefits of improved comfort and energy efficiency for years to come.
Check Best Thermostat Pricing in Amazon
** As an Amazon Associate, I earn from qualifying purchases.